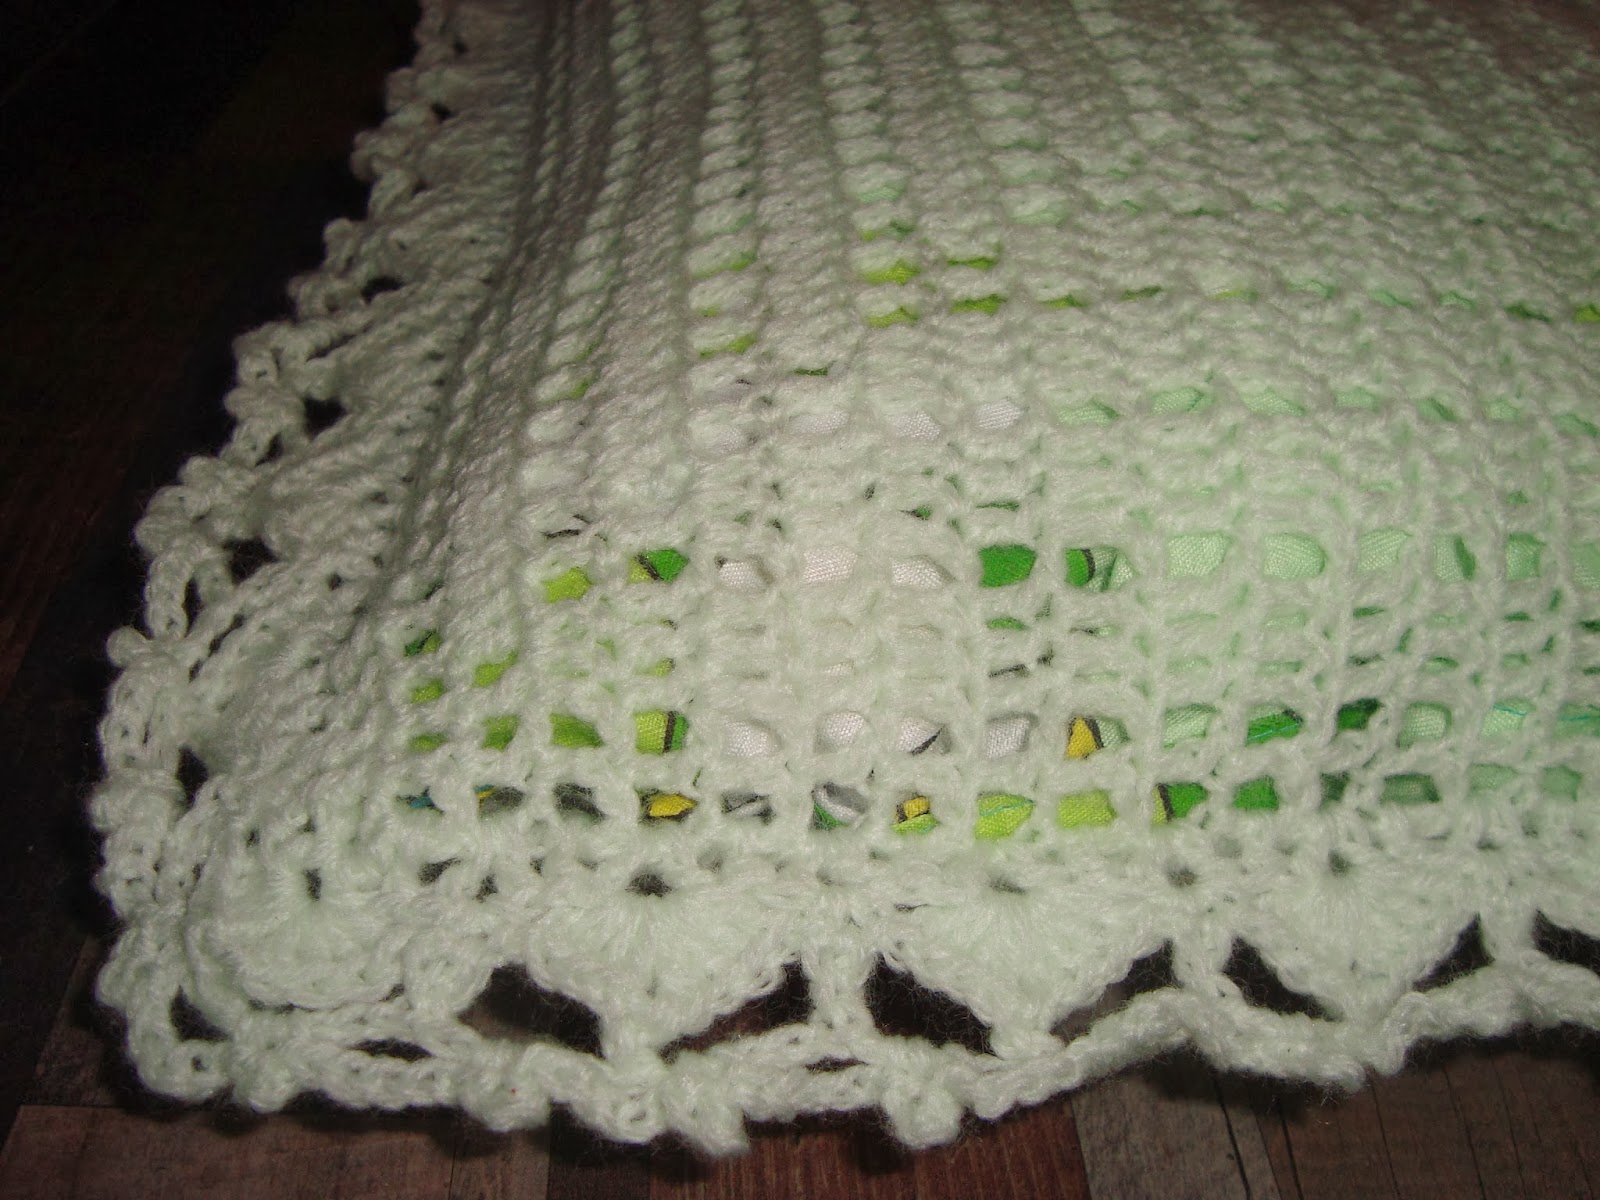
On the last part I will finished the project and all the details.
After finished both square according to the diagram presented on part two, crochet a few more rounds with the mesh model (lets say a half of the length of the pillow case; I crocheted only a quarter).
This last part will go underneath and will cover a part of the pillow.
Here a picture of how those parts will have to be sew (or crocheted) together:
Crochet on all 4 sides a row with V-st, and continue to crochet them according to the border diagram presented in part one.
Make sure that you will leave an opened space where you folded the tissue, to insert the pillow.
After you will completed all the rounds of the border, cut the yarn.
Weave in ends.
The finished project should look like this:
Of course, it is better to have an white pillow not colored like mine...but anyway the owl is resting well and fluffy and the little boy is happy...!
Please follow my blog and like my facebook page to be updated with more other useful tips and how to...


No comments:
Post a Comment